
lash mapping guide
Lash mapping is a crucial technique in eyelash extension applications, helping artists create personalized, balanced looks by strategically planning lash placement, lengths, and curls for each client.
What is Lash Mapping?
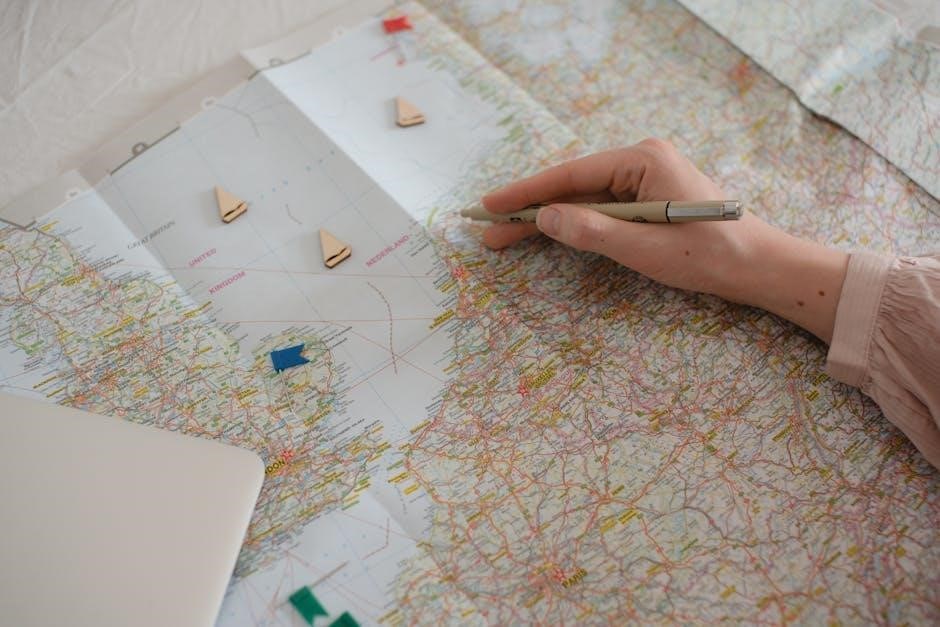
Lash mapping is a detailed process where a lash artist creates a blueprint for eyelash extension application. It involves marking the natural lash line to determine where extensions will be placed, ensuring a balanced and customized look. By dividing the eye into sections, artists can plan the length, curl, and volume of lashes for each area. This technique helps achieve a natural, seamless finish and enhances the client’s eye shape. Using tools like a pen or specialized mapping devices, lash mapping guides the application process, ensuring precision and consistency for desired aesthetic results.
Importance of Lash Mapping in Eyelash Extensions
Lash mapping is essential for achieving a balanced, natural look in eyelash extensions. It ensures each lash extension is placed correctly, enhancing the client’s eye shape. Proper mapping prevents unevenness and damage by distributing weight evenly. It allows artists to customize lengths and curls, avoiding overloading natural lashes. Mapping also streamlines the application process, reducing time and ensuring consistency. This step is crucial for both aesthetic appeal and lash health, making it a fundamental technique in professional lash artistry, as it personalizes the look to complement individual features effectively;

Popular Lash Mapping Styles
Explore the top lash mapping styles, including Cat Eye, Kim K, Doll Eye, Squirrel, and Fox Eye, each offering unique looks to suit various eye shapes and preferences.
Cat Eye Lash Map
The Cat Eye lash map is a timeless choice, creating a dramatic, winged effect. It emphasizes the outer corner of the eye with longer, thicker lashes, while shorter lashes at the inner corner maintain a natural look. This style is ideal for round eyes, as it elongates the shape. Properly executed, it adds depth and allure, making it a favorite among clients seeking a bold yet elegant appearance. The key is to balance the volume and length to achieve that iconic cat-eye aesthetic seamlessly.
Kim K Lash Map
The Kim K lash map is a popular choice for its natural, voluminous look. It focuses on creating a balanced, full appearance by distributing lash extensions evenly across the lash line. This style often features medium to long lashes in the center, with shorter lashes at the inner and outer corners for a soft, seamless blend. Ideal for almond and round eyes, the Kim K map enhances the client’s natural beauty without appearing overly dramatic. Its versatility makes it a go-to for those seeking a glamorous yet understated finish.
Doll Eye Lash Map
The Doll Eye lash map is designed to create a wide, innocent, and youthful appearance. It emphasizes longer lashes in the center of the eye, with shorter lashes at the corners, giving the illusion of a larger, more open eye. This style is ideal for clients with almond or round eyes, as it enhances their natural shape. The Doll Eye map focuses on volume and length in the middle, creating a soft, natural look. It’s a popular choice for those seeking a delicate, everyday lashes that mimic the appearance of doll-like eyes, perfect for enhancing without drama. Proper technique ensures a seamless finish.
Squirrel Eye Lash Map
The Squirrel Eye lash map is a less common but highly effective style that creates a soft, natural, and slightly rounded appearance. It involves placing medium to long lashes in the center and towards the outer corner of the eye, with shorter lashes at the inner corner. This technique enhances the eye’s natural shape without adding excessive drama, making it ideal for clients seeking a subtle yet polished look. The Squirrel Eye map works well for most eye shapes, including almond and round eyes, and is particularly popular for creating a soft, everyday appearance that complements the client’s features naturally.
Fox Eye Lash Map
The Fox Eye lash map is a trendy and versatile style designed to create a lifted, almond-like appearance. It involves placing longer lashes on the outer corners and gradually shorter lashes towards the inner corners, with medium lengths in the center. This technique elongates the eye shape and adds depth, making it ideal for clients with almond eyes or those wanting a more dramatic look. The Fox Eye map is adaptable and can be tailored to suit various preferences, from subtle to bold, making it a popular choice for enhancing eye shape while maintaining a natural, polished finish.
Determining the Best Lash Map for Your Eye Shape
Understanding your eye shape is key to selecting the perfect lash map. Almond, round, hooded, or deep-set eyes each require tailored techniques to enhance natural beauty and achieve desired results.
How to Identify Your Eye Shape
To identify your eye shape, start by looking at the space between your iris and brow bone. Almond eyes are the most common, with a visible crease and a slightly pointed outer corner. Round eyes have a larger, more circular appearance, with minimal space between the lash line and brow bone. Hooded eyes feature a small or non-existent crease, while deep-set eyes are set back with a prominent brow bone. Each shape requires a different approach for lash mapping to ensure the most flattering results. This step is essential for creating a personalized lash design that complements your natural features and enhances your eye’s beauty.
Almond Eyes: Best Lash Mapping Techniques
Almond eyes are the most versatile shape, suitable for a wide range of lash styles. To enhance their natural beauty, focus on creating balance and depth. Start by applying shorter lashes at the inner corner and gradually increase the length towards the outer corner for a subtle, natural look. Use a mix of medium and long lashes to add volume without overwhelming the eye. Incorporate a variety of curls, such as J, B, and C curls, to create dimension and movement. Avoid overly dramatic styles, as they can make almond eyes appear smaller. Instead, opt for a soft, layered approach to complement their elegant shape.
Round Eyes: Best Lash Mapping Techniques
Round eyes benefit from lash mapping that creates the illusion of length and depth. Start by applying longer lashes toward the outer corner to elongate the eye shape. Use a combination of medium and long lashes, with the longest at the outer third of the lash line. Avoid excessive volume on the inner corners to maintain balance. Opt for C or D curls to lift and open the eyes. A cat-eye or fox-eye style works beautifully, as it enhances the natural shape without overwhelming it. This technique creates a harmonious, elongated appearance that complements round eyes perfectly.
Tools and Materials Needed for Lash Mapping
Essential tools include a lash mapping pen, pads or tape for client preparation, and an eyelash mapping guide or template for precise measurements and design planning.
Essential Supplies for Lash Artists
Key supplies for lash mapping include a high-quality lash mapping pen, individual lashes in various lengths and curls, and a strong adhesive for secure bonding. Tweezers are crucial for precise application, while a lash brush helps maintain order during the process. Cleaning products and primers ensure lash health and proper adhesion. Pads or under-eye tape protect the lower lashes, and a mirror provides clear visibility. A lash remover is also essential for safe extension removal. These tools collectively enable artists to create customized, long-lasting lash designs tailored to each client’s needs.
How to Use an Eyelash Mapping Tool
Start by gently placing the lash mapping tool along the client’s natural lash line to outline the desired shape. Use the tool’s markings to divide the eye into sections, ensuring symmetry and balance. Mark the lash line with a mapping pen to guide extension placement. Measure and plan lash lengths and curls for each section based on the tool’s guidelines. This helps create a customized, polished look tailored to the client’s eye shape and desired style. Regular practice enhances precision and efficiency in using the tool effectively for stunning results.
Step-by-Step Guide to Creating a Lash Map
Identify the client’s eye shape, use a mapping tool to outline sections, mark lash areas with a pen, and plan extension lengths and curls accordingly for a custom look.
Preparing the Client for Lash Mapping
Start by ensuring the client’s lashes are clean and free of makeup or oils. Gently remove any residue with a lash cleanser and rinse with water. Place under-eye pads or tape to protect the lower lashes and prevent interference. Position the client comfortably, allowing easy access to their lash line. Use a fine-tip marker or liquid pen to mark lash sections on the upper lash line, creating a clear guide for extension application. This step ensures precision and customization, making the mapping process smooth and effective for achieving the desired look;
Mapping the Lash Line
Mapping the lash line involves dividing the eye into sections to guide extension placement. Use a fine-tip marker or liquid pen to mark the lash line, creating clear boundaries for where lashes will be applied. Typically, the eye is divided into three to five sections: inner, middle, and outer corners, with additional sections for detailed designs. This step ensures symmetry and balance, allowing for a customized look tailored to the client’s eye shape. Proper mapping helps in achieving a natural, seamless finish and prevents uneven distribution of lashes.
Applying Extensions Based on the Map
Applying extensions based on the lash map ensures a precise, customized look. Start by securing the client’s lashes with tape or pads for stability. Using tweezers, carefully pick up lash extensions and dip the base in adhesive. Follow the map’s markings, applying lashes section by section, from the inner to outer corner. Vary lash lengths and curls according to the map to enhance the natural shape. Ensure each extension is placed correctly, avoiding overcrowding. Check symmetry as you go, making adjustments for a balanced finish. This method guarantees a seamless, professional result tailored to the client’s eye shape.
Tips for Avoiding Common Mistakes
Use proper tools, keep lash maps simple, and communicate with clients to ensure natural results. Avoid overcrowding and uneven placement for a polished finish.
How to Ensure a Natural-Looking Finish
To achieve a natural finish, adapt lash mapping to the client’s eye shape and lash line. Use varying lash lengths and curls to mimic real lashes. Avoid overcrowding by spacing extensions evenly. Blend shorter and longer lashes seamlessly for a subtle look. Ensure the lash line isn’t too heavy or uneven. Properly secure extensions close to the natural lash base to prevent lifting. Communicate with clients to understand their desired look and adjust the map accordingly. Balancing density and texture is key for a flawless, natural appearance.